


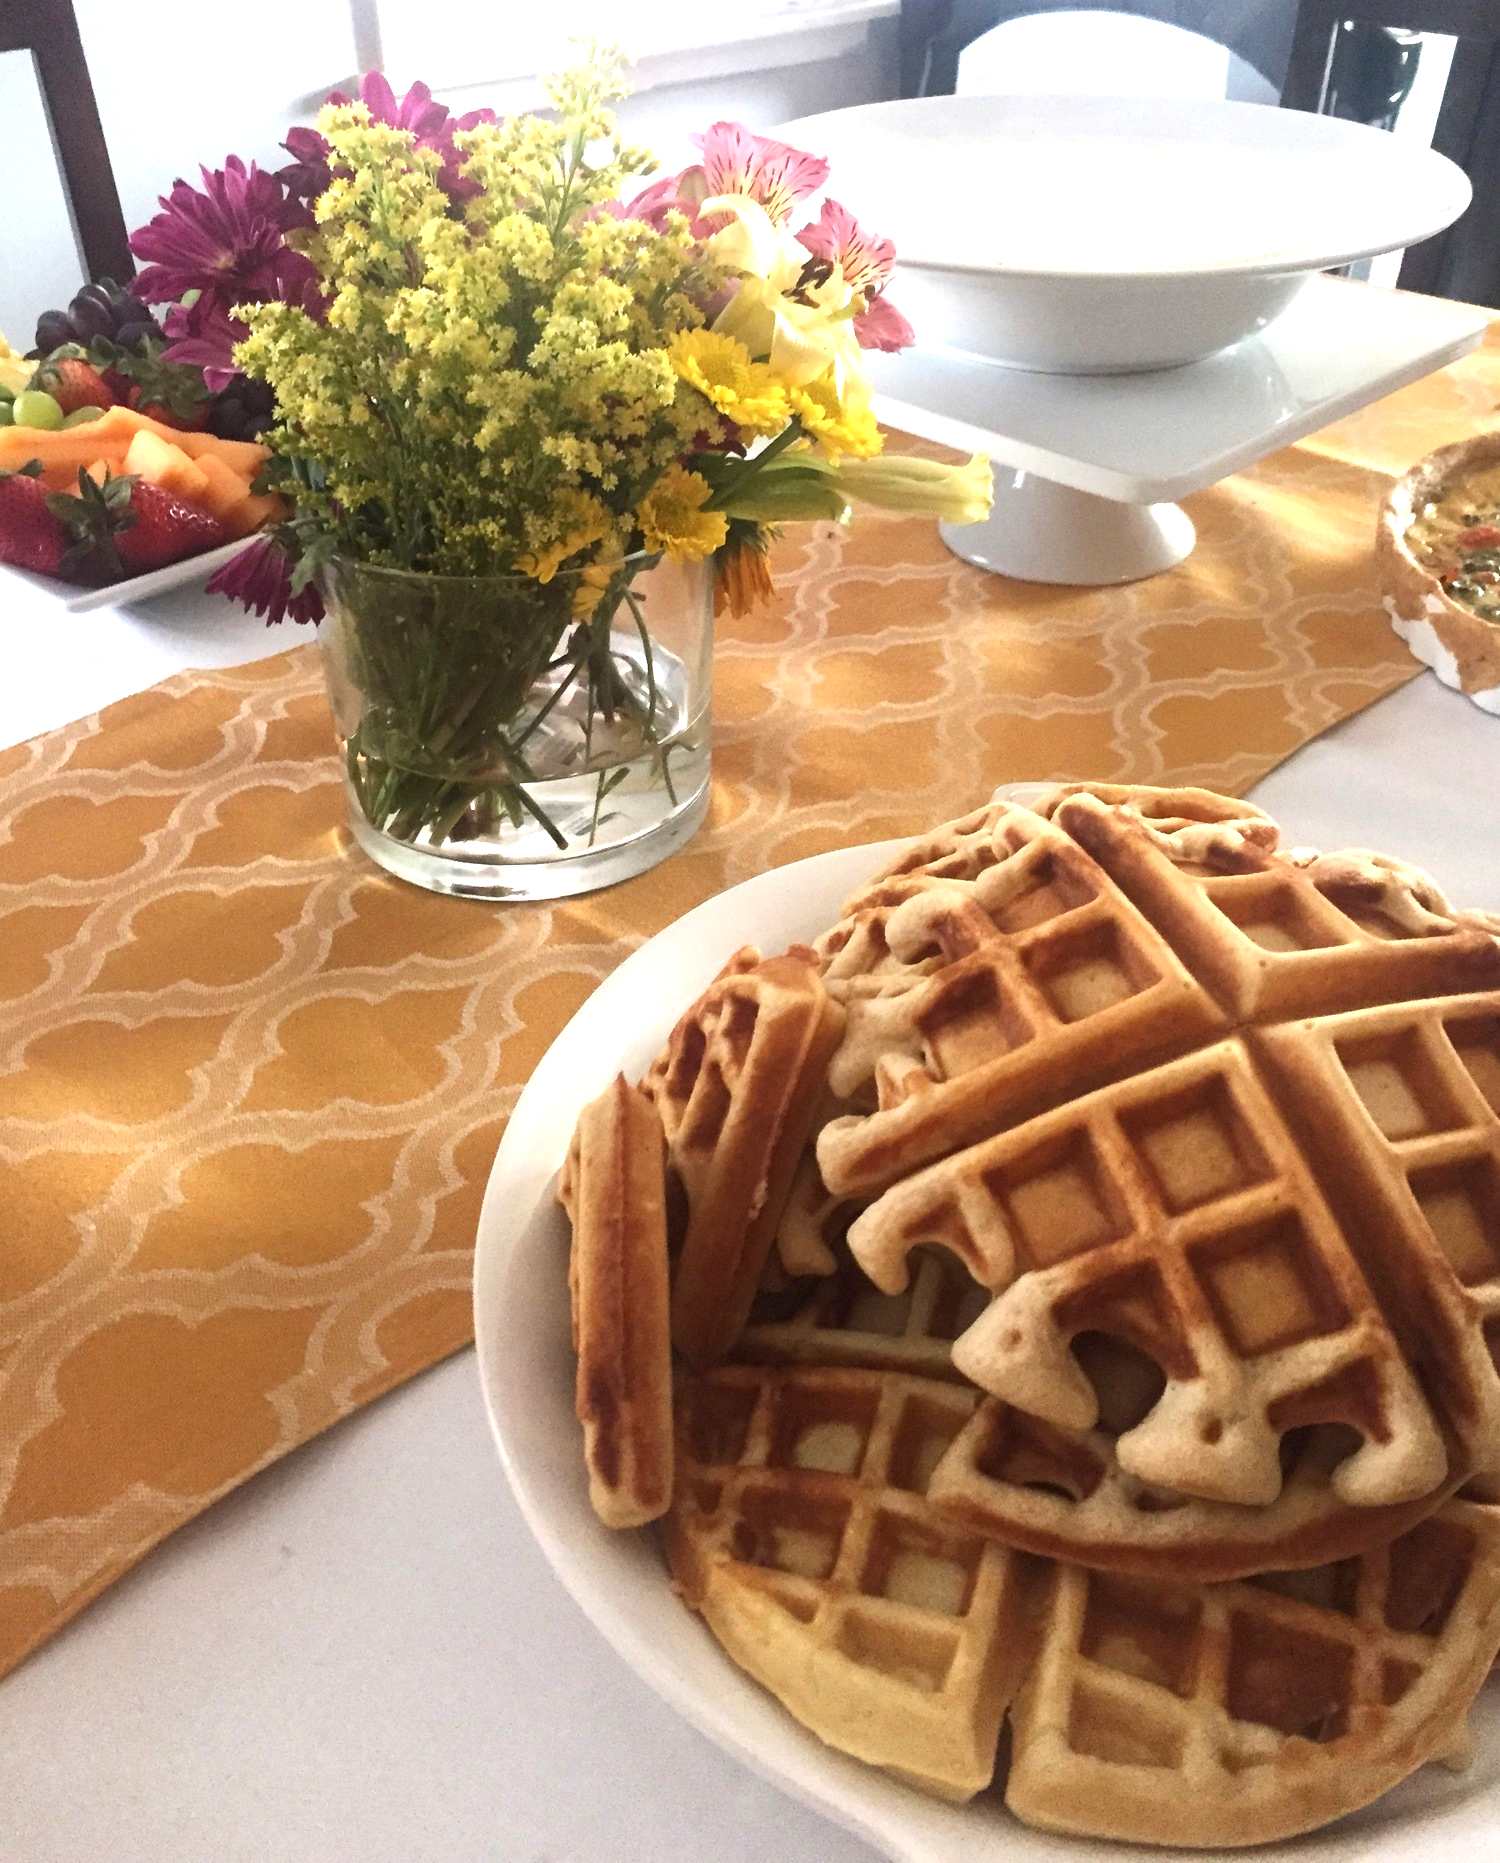
Leisurely Sunday Morning Waffles
Sunday mornings at my house are special, and probably my favorite time of the week. There’s no rush to get up and go anywhere, and the mood is very casual. The three of us lounge in bed and watch television for about an hour before breakfast, which I love. I hate feeling rushed, especially when it’s time to cook. Keeping with the casual Sunday morning feel, breakfast is typically just as leisurely. There’s often mimosas involved, which makes the cooking (and eating), significantly more enjoyable than lets say, on your average weeknight.
Because our Sundays are so relaxed, it gives me the opportunity to make more involved meals. When boyfriend brought home a long awaited waffle iron, I was ready. I knew it would work perfectly for our Sunday mornings. So then came the issue of finding the perfect waffle recipe. We eat a lot of pancakes, so I’ve got those down pat, but waffles are a little different. The batter needs to be a little denser, but not so dense that it makes a thick, heavy waffle. You want them to be light and fluffy, but still hold up well to the syrup, whipped cream, and berries you’ll obviously top them with. It’s a conundrum. After trying about four different recipes, and tweaking them here and there, I think I’ve found the answer to the perfect waffle. I made them for my Easter brunch, and everyone loved them. Go ahead, try them on your next leisurely Sunday morning!
What You’ll Need:
A waffle iron (well, duh)
Nonstick cooking spray
1 ¾ cups all-purpose flour
3 teaspoons baking powder
½ teaspoon of salt
3 tablespoons of sugar
2 beaten egg yolks
2 beaten egg whites
½ cup vegetable oil
1 ¼ cup milk
A tablespoon of vanilla extract
What to Do:
Preheat your oven to 200 degrees. You’ll want to place your waffles in there while you finish making the rest. Also, preheat the waffle iron, you’ll want it nice and hot when you start pouring your batter.
In a large mixing bowl, sift together your dry ingredients (flour, baking powder, salt, sugar). Sit aside.
In another small bowl, beat your egg whites until they’re stiff. You can use a hand mixer, which is way easier, but in the event that you don’t have one, (like me) a hand whisk works just as well. You’ll have to put some man strength into your whisking, but it’ll all be over quickly. In another bowl, add the milk and two yolks, and beat together (nothing special here, just like you’re preparing scrambled eggs).
Pour the yolk and milk mixture into your dry ingredients. Add the vanilla and oil, and mix, but leave some lumps. Totally smooth waffle batter is a no go. Now, add your stiff egg whites, and fold them kindly into the batter. This step ensures that the waffles are light and airy.
Spray the waffle iron with nonstick spray, and pour the batter. For a single waffle iron, I pour about a third a cup of the batter into the iron.
Tips:
- Sift those dry ingredients! It’s a step that’s tempting to skip, but so necessary for truly light and fluffy waffles. Sifting the ingredients before mixing them together is a must do.
- A few of the recipes I’ve tried in the past substitute melted butter for the vegetable oil. It’s a personal preference of which you’d like to try, I find that vegetable oil yields the same result with less fat.

Simple 30 Minute Pasta
We’ve added another baby boy to our family. His name is George, and he’s a five-month-old, sixty-pound Bordeaux mastiff. He’s big, he’s playful, and he’s sweet. Also, he’s nearly impossible to control, so we’ve signed up for puppy training classes. The class is once a week at seven in the evening, which is a pretty annoying commitment given the time of day. It’s around the time we typically eat dinner, which is an issue in itself. If boyfriend doesn’t eat around the same time every day, he turns into a diva. Demanding, aggressive, on edge. His hunger really gets the best of him.
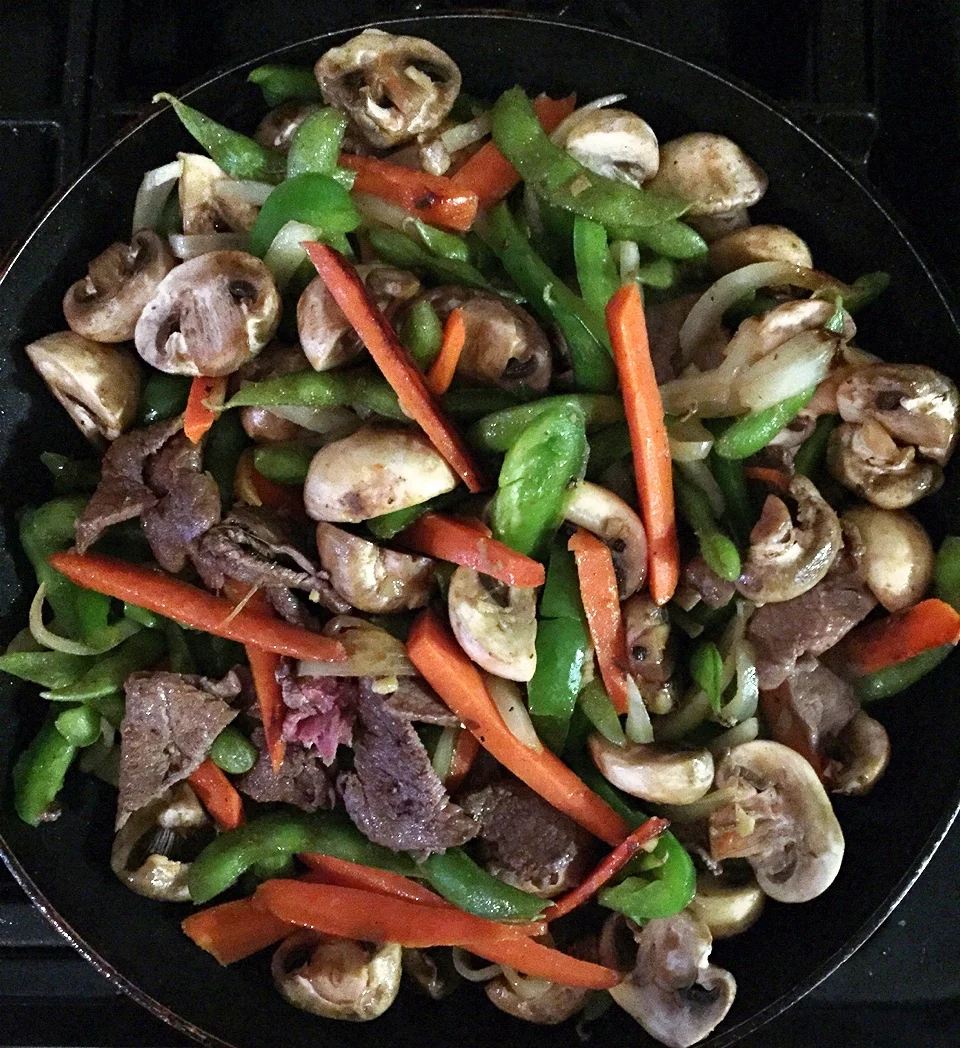
So one evening, about an hour before puppy class, I notice the diva emerging. He’s walking around the kitchen restlessly, snapping at the dogs, opening and closing cabinets. My first mind tells me “don’t cook anything, he’ll be fine until after class”. But I see him angrily chewing on a handful of dry cereal, and come to my senses. I roll my eyes, put on a pot of boiling water, chop some veggies, and in about thirty minutes we have a big, steaming bowl of pasta. Twenty minutes later, we’re in the car on the way to puppy class. The diva has disappeared, and my loving boyfriend is back. Further annoyance diverted.
A quick pasta dish is always my go to for situations like this. Most pasta takes about eight minutes to reach al dente, and throwing together a quick pasta sauce takes only a few more. You can add whatever you have on hand to the pasta, making it unique and great for using up random veggies that might be floating around your fridge. In this case I had shrimp, a can of diced tomatoes, asparagus, and parmesan. Boom.
What You’ll Need:
A package of fettuccine
About a pound of medium to large shrimp, peeled and deveined
A bunch of asparagus, trimmed
One large onion
Can of diced tomatoes
Salt and pepper to taste
For the sauce:
Couple of cloves of minced garlic
Couple tablespoons of flour
A cup of milk (have a little more on hand in case the sauce gets a bit thick toward the end)
½ cup of shredded or shaved parmesan
Dried oregano
Dried basil
Salt & pepper
Couple tablespoons of olive oil or butter
What To Do:
Put a large stockpot of water on over high heat, and sprinkle liberally with salt. Cooking your pasta in salty water is the key to well-seasoned pasta, and the basis of a well-balanced dish. Allow pot to come to a rolling boil.
While you’re waiting for the pot to come to a boil, prepare your vegetables. Clean, trim, and chop your asparagus into about inch long pieces. Take special care to remove the tough stalks of the asparagus, or roughly the bottom two inches of the vegetable. Throw the chopped asparagus into a deep skillet with about a tablespoon of olive oil. You can salt and pepper them in the pan as they cook over medium heat. Seasoning in the pan always makes me feel like a real chef, so I imagine it will do the same for you.
After your asparagus get going, go ahead and dice your onion. Remove the asparagus from the pan once they’re easily pierced with a fork, or cooked to your liking. I typically let them go for about eight minutes, so they’re tender, and a beautiful bright green. Set them aside.
Toss your diced onion into the same pan once the asparagus have been removed. Let them cook down until softened. Your pasta water should’ve come to a boil by now, so go ahead and dump your pasta in, and add another tablespoon of olive oil to the water, to keep the pasta from sticking. From here I employ my standard alfredo sauce recipe, but leave the onions in the pan for good measure. They flavor the sauce nicely.
Add your drained tomatoes to the skillet, right into the simmering sauce, followed by your shrimp (which you can lightly season with salt and pepper before adding). Let the shrimp go for about three minutes, then add the asparagus. Give it another three or so minutes then add your pasta, right into the skillet (another surefire way to feel like a real chef). Toss the pasta around with the sauce, getting everything well combined. Let the entire skillet go for about another five minutes. Voila! Serve in big bowls with a sprinkling of flat leaf parsley and a little shaved parmesan.
Extra Tips:
- Buy your shrimp peeled and deveined. There’s nothing worse than being in a rush and realizing you have to prepare your shrimp. Your grocer will do if for you if you ask.
- Despite how lengthy the recipe might look, this dish goes really quickly. Be careful to pay close attention to how long your shrimp cooks in the dish. They cook very quickly, and can go from perfectly cooked to tough little shrimp nuggets if you aren’t careful.
- Use a really deep skillet, so you can fit everything in together at the end. If you don’t have a very deep skillet, you can drain the pasta, return it to its pot, pour the sauce over it, and mix it there. Same deal.
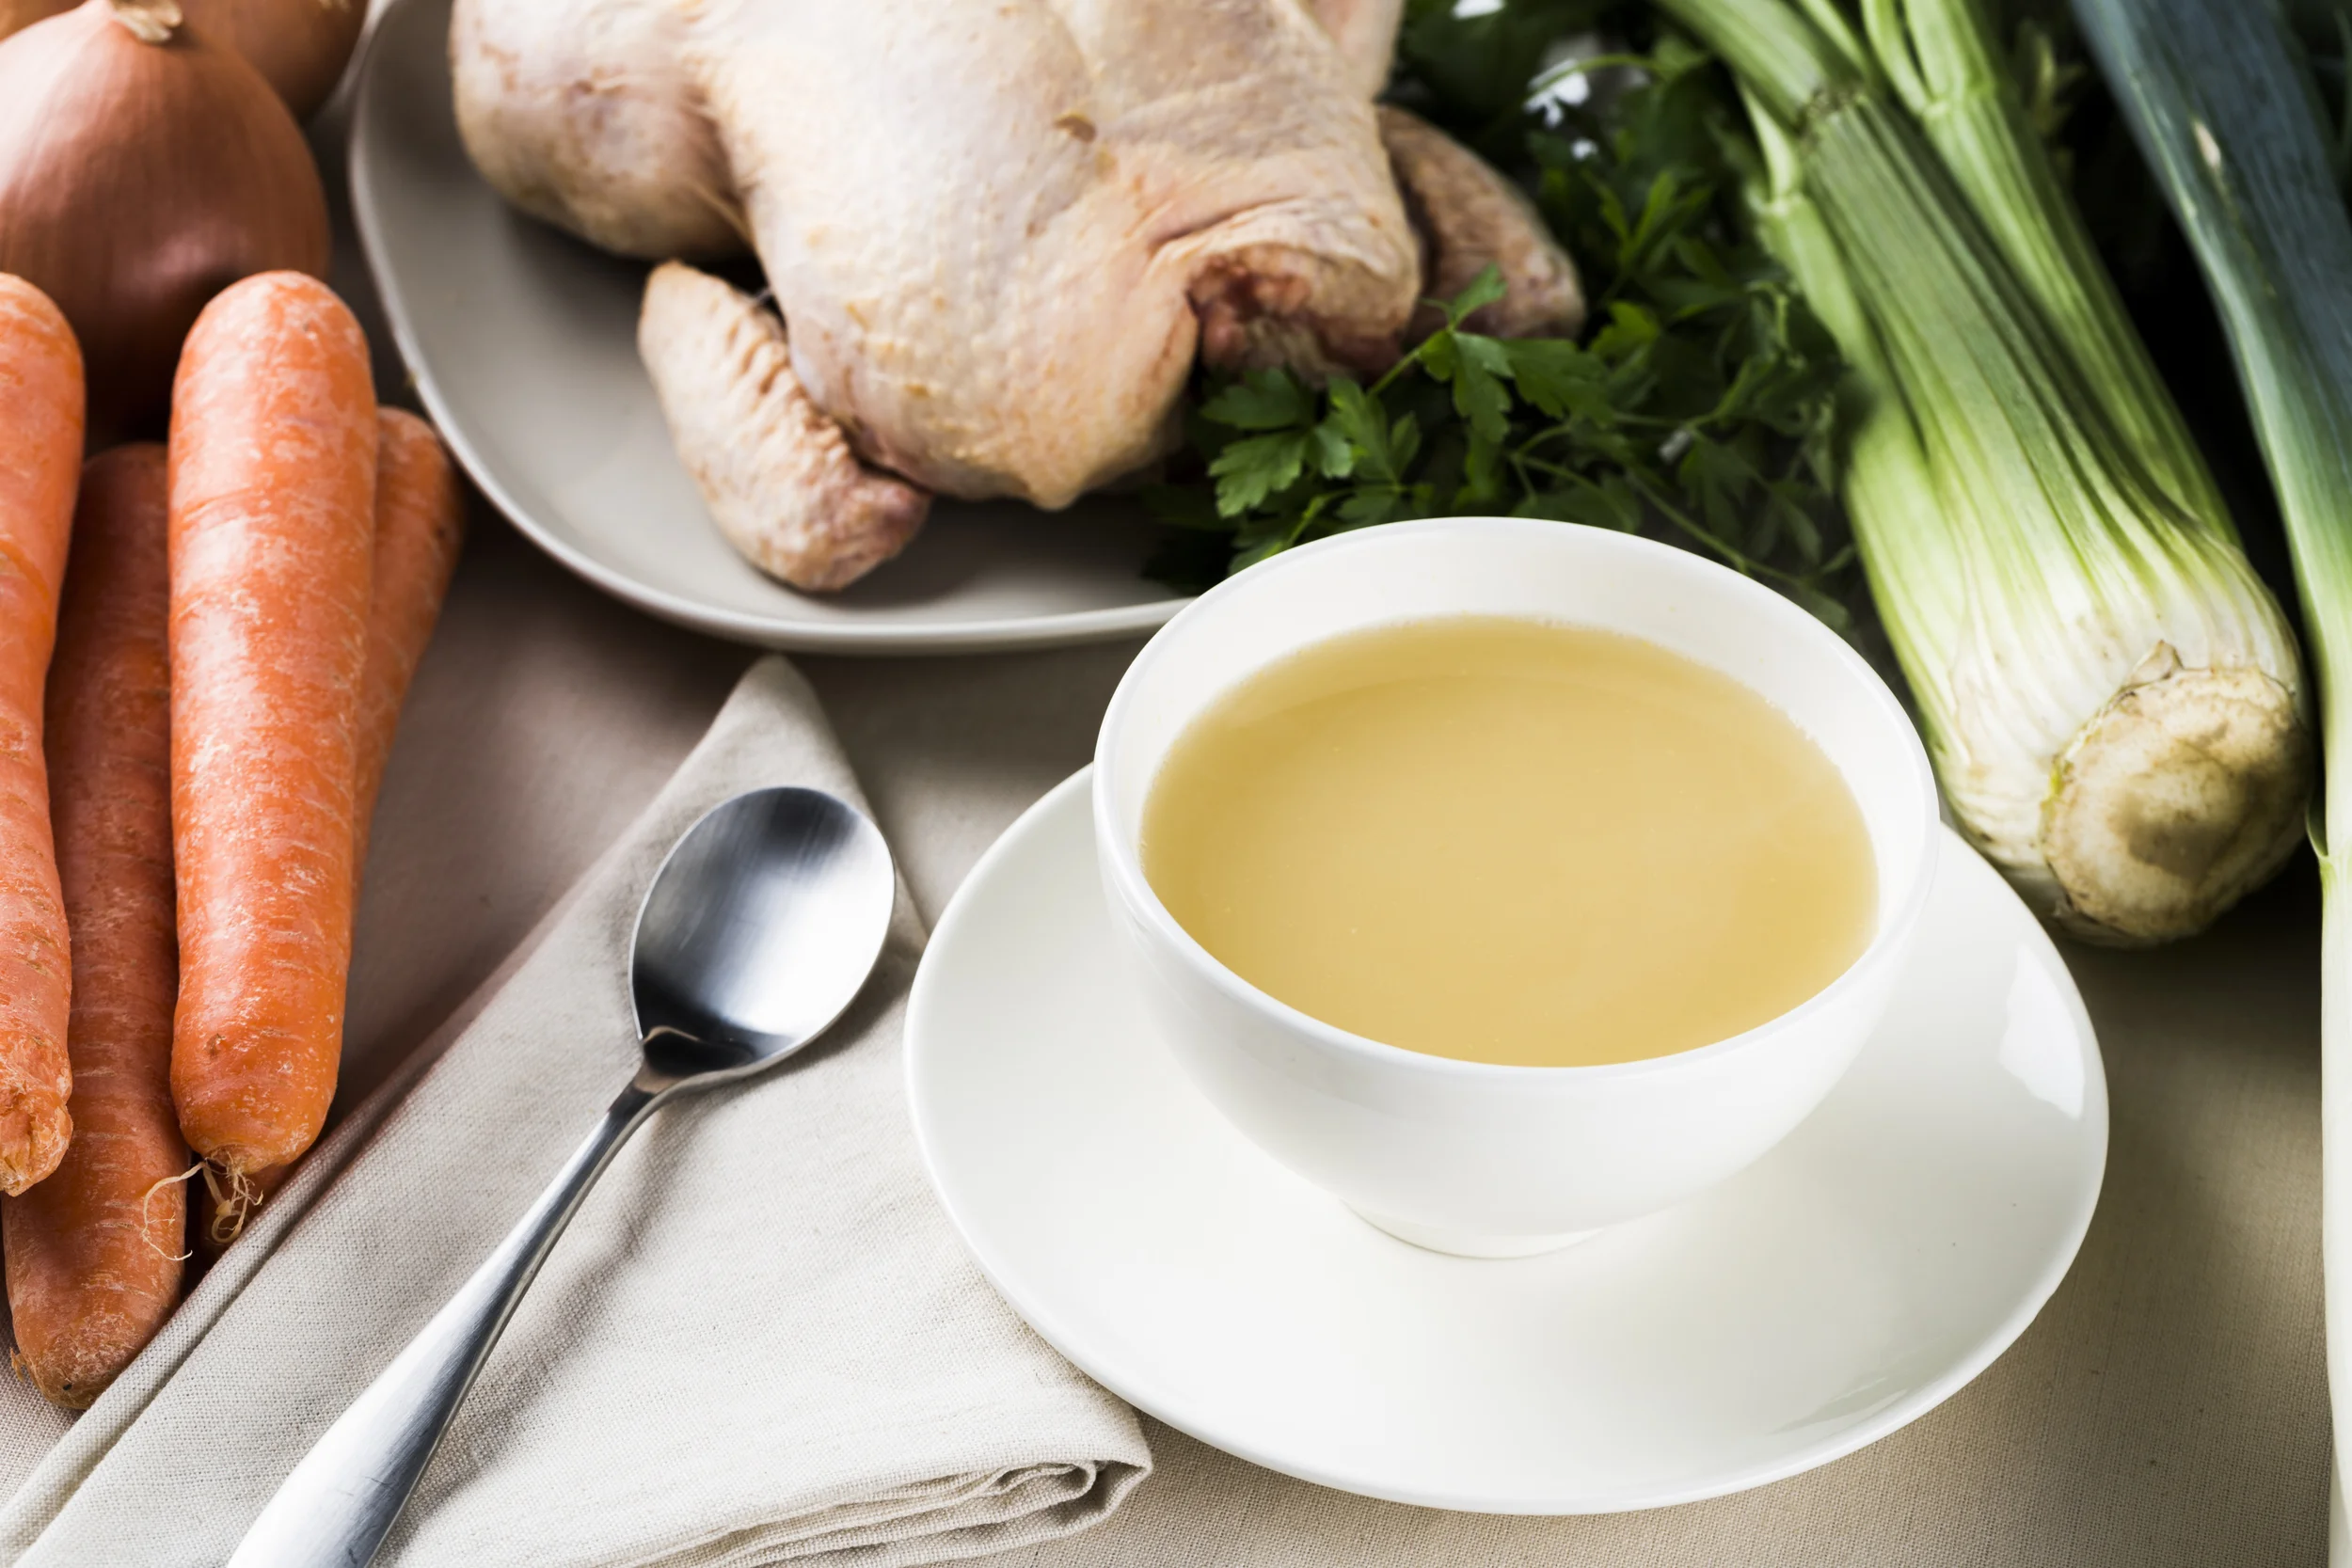
Easy Homemade Chicken Stock
Sometime last year, I became really uncomfortable with canned goods. I’d been in the process of “healthy-fying” the contents of my refrigerator and pantry, replacing my standard eggs with cage free ones, dumping the standard milk for organic, etc. I finally reached the cabinet stacked with cans upon cans of beans, tomato paste, and chicken broth and thought to myself, “Hey self. How can you make this stuff better?”
I’m not neurotic about grass fed beef and organic produce. I’m just interested in feeding my family things that aren’t ridden with unnecessary pesticides and preservatives. Forget convenience. I started making beans in bulk and freezing them, and stopped buying them in cans. I switched to organic tomato sauce and paste. And I started making my own chicken and beef stock.
Initially, it seemed a little intimidating, but after making my first batch I’ve never turned back. I use chicken broth in so many recipes, and it just makes so much more sense both in the interest of my family’s health and our grocery budget. At about a dollar a can, I was spending so much on those cans of chicken and beef stock! Dollars that have since been better spent on other awesome food things. Now every few weeks I just cook up a quick batch of stock, and always have it on hand.
What You’ll Need:
A 4-6 quart stockpot (or the largest one you can get your hands on)
Leftover chicken bones or pieces
Three large carrots, cut into thirds
Three large onions
Three celery stalks
Two or three garlic cloves
Two tablespoons of vinegar (preferably cider, but white works fine)
Water
A couple of bay leaves
Sprinkling of peppercorns (optional)
What To Do:
First, prep your vegetables. Rinse and chop your celery stalks and carrots into thirds. Peel and quarter your onions. Peel and smash your garlic cloves. Toss the prepared vegetables and chicken pieces/bones in the pot.
Add your bay leaves and peppercorns, then vinegar, then water. Bring the pot to a boil over high heat. Once it reaches a boil, reduce to a simmer and cover. Let the pot simmer for at least an hour, but you can let it go for up to three. The longer it simmers, the more developed the flavor of your stock.
Once you’ve had enough simmering, let the pot cool for about half an hour. Strain the stock into large plastic containers, and allow to cool before refrigerating. When I sometimes make way too much, I transfer to plastic freezer bags and toss them in the freezer. They’re good there for about six months.
Tips:
- After having a roast chicken for dinner, reserve the backbone or any other pieces that haven’t been chewed or nibbled on. Collect them in a freezer safe bag for when you’re ready to make a batch.
- Chicken gizzards or the innards can work in a pinch, although using pieces as well as bones make for a more flavorful, well-developed stock, so try to at least include some type of bone. Also, roasting the bones before using them in the stock result in a deeper flavor, just takes a few extra minutes!
- Once the stock is cooled and refrigerated, a layer of fat will solidify and settle on the top of the stock. It doesn’t look very pretty, but unless you’re using the entirety of the stock in the next several days, I wouldn’t scoop it off or discard. The fat layer on top helps preserve the stock for longer in your refrigerator. When measuring out your stock for recipes, just don’t use the solidified fat.
The haute in domestic
This is a block field
You can put any content in here.
Etiam porta sem malesuada magna mollis euismod. Vestibulum id ligula porta felis