


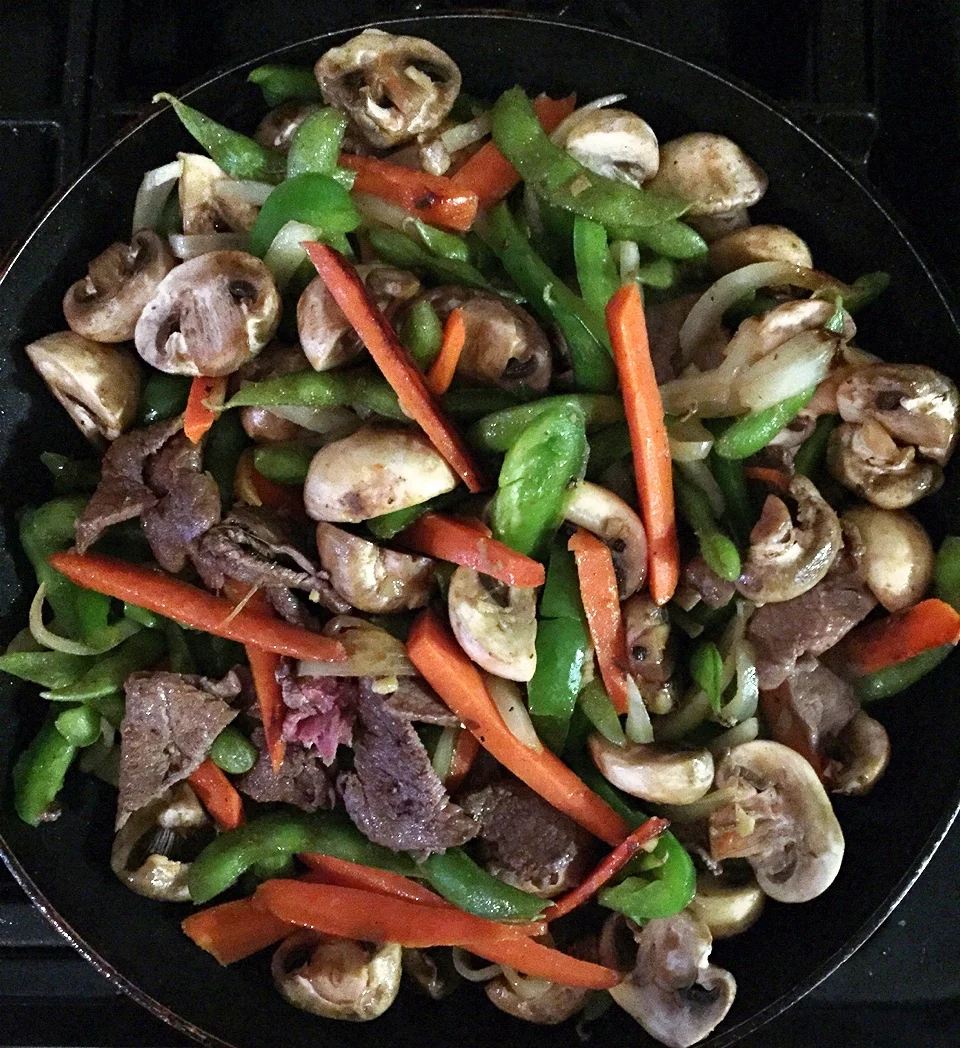
Easy Crock Pot Carnitas
The crockpot is typically considered a cold weather accessory. Slow cooking ragu, pot roast, soups, and stews are the norm. But what if I told you I was shaking the slow cooking trend up a bit, and ushering in spring with a crock-pot carnitas recipe? Brace yourselves. I’ve done it. After purchasing some random boneless pork at my favorite market. There’s something to be said about buying unfamiliar things at the market because the price has been reduced. Turns out it’s the ticket to unexpected deliciousness. It took me a few weeks to figure out how to best use it, but it was totally worth it.
The slow cooker is ideal for cooking things that need a low and slow type preparation. I literally tossed this pork shoulder in with a can of beer, put it on low for eight hours, and got flavorful, tender, falling apart pork, perfect for tacos and tostados. The hardest part of this meal was toasting the tortillas.
What You’ll Need:
A boneless pork shoulder or similar cut. (mine was about three pounds)
A tablespoon of canola or vegetable oil
A regular 8oz can of beer
2 tablespoons of cumin
Tablespoon of minced garlic
One large onion
Tablespoon of chili powder
2 teaspoons of salt
About a teaspoon of pepper
What You’ll Do:
Heat the canola oil on high heat in a large frying pan. Add the pork and sear until it’s a deep lovely brown on all sides. Transfer from the pan to your slow cooker.
Now the fun part! Dice your onions, mince your garlic, crack that can of beer open and dump everything on in there. No need to get fancy with your beer, I snagged can of boyfriend’s Bud Light. It helps breakdown the meat and makes it super tender.
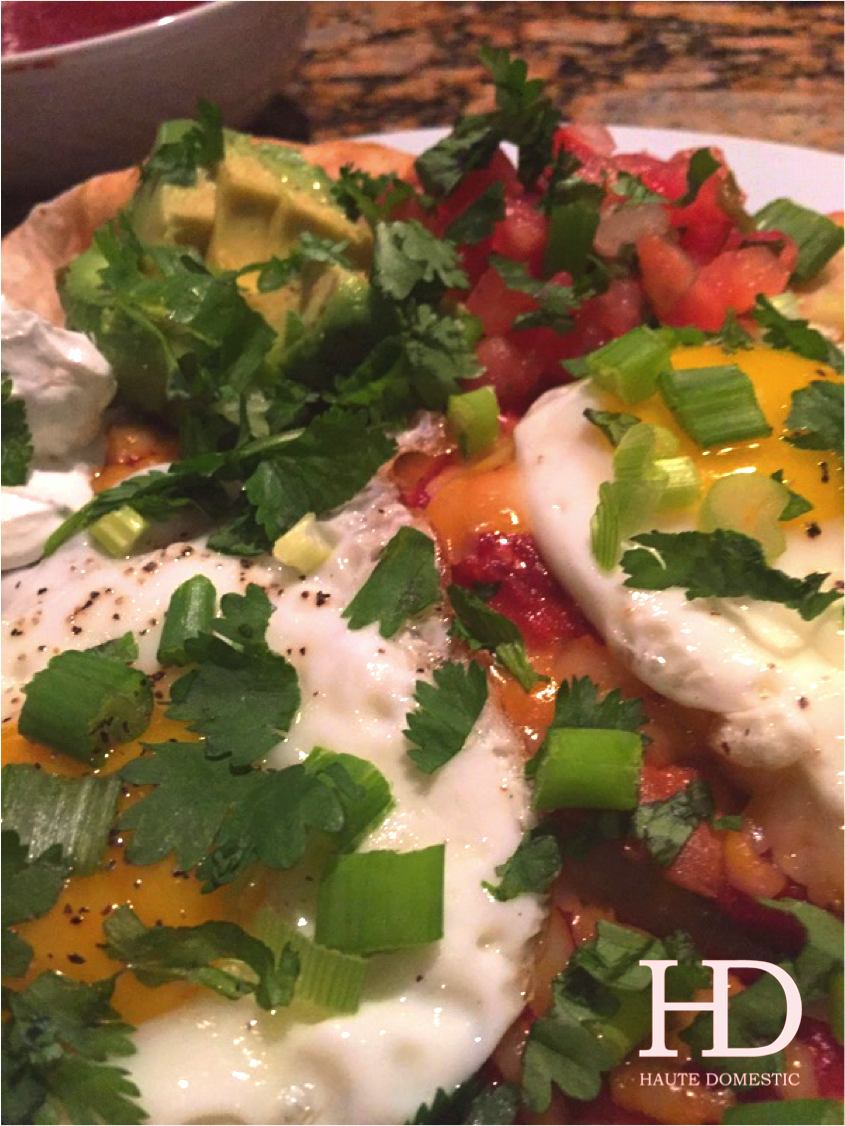
Cook in your slow cooker for eight hours on low. Run some errands, maybe catch a baseball game. Eight hours later, lift the wonderfully cooked, tender pork shoulder out onto your counter and shred with two forks. I used mine right away for tacos, and the next morning for breakfast tostadas.
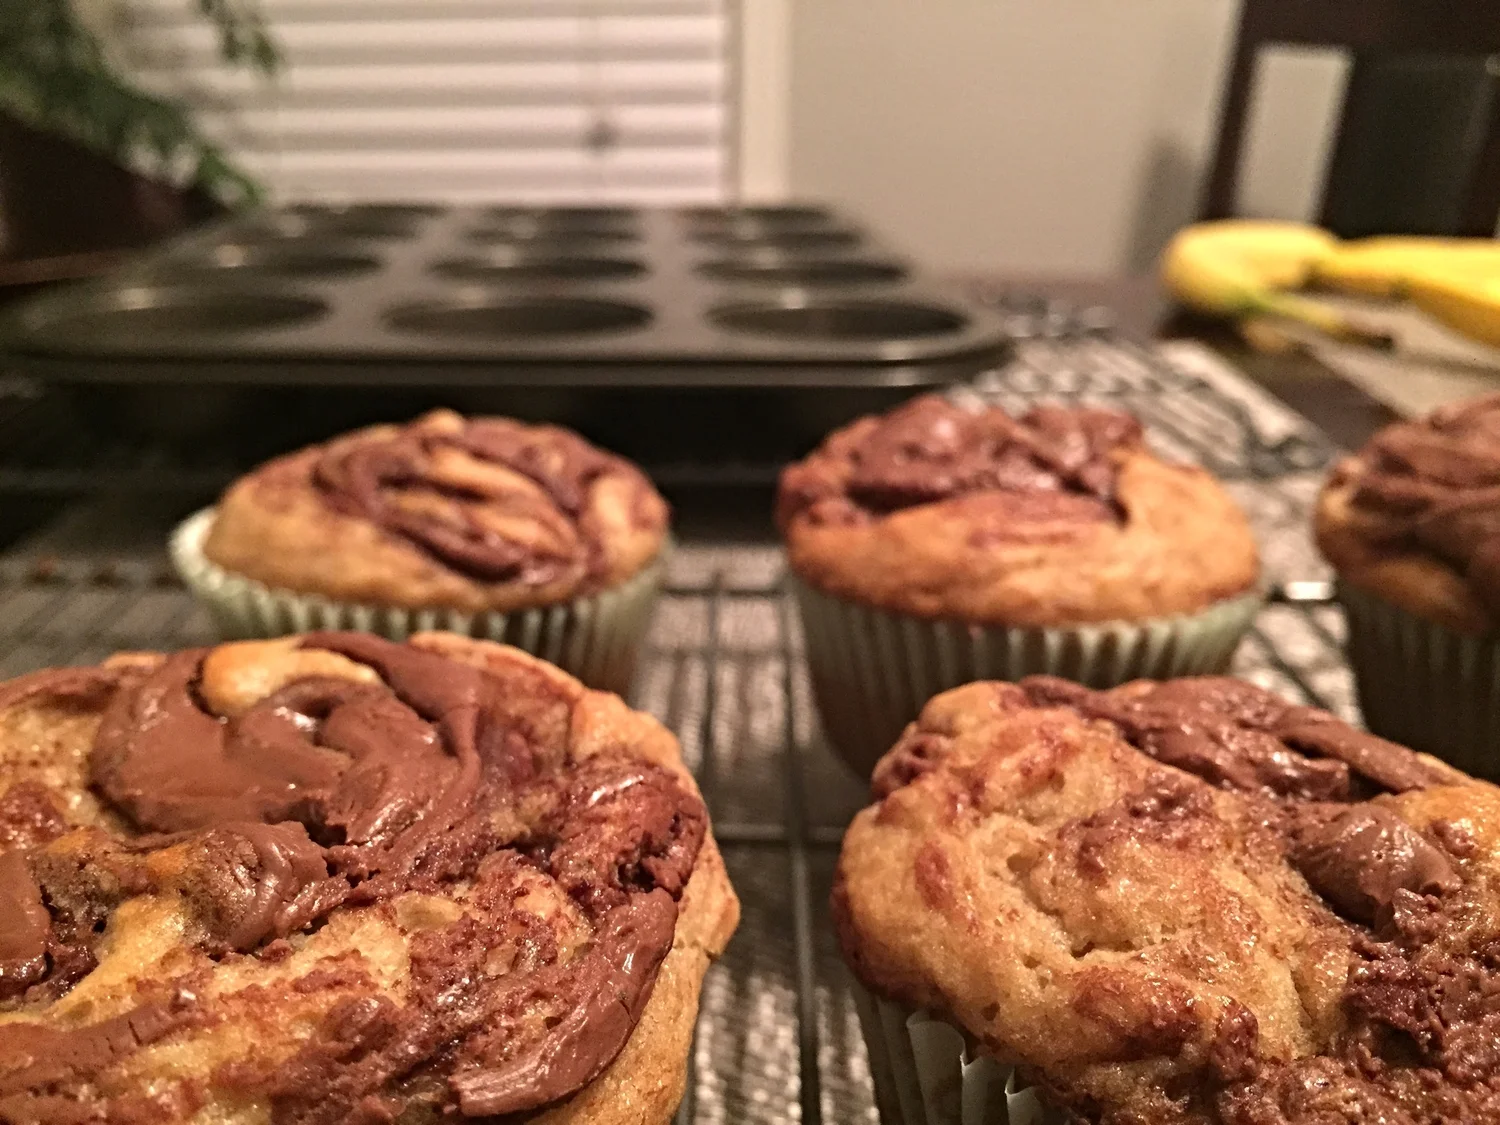
Sweet Potato Banana Bread
Since ushering a little life into the world, sweet potatoes have become a staple in our household. Apparently, they’re one of the most nutrient rich, easy to digest foods for babies who are just starting to explore table food. So sweet potatoes it is, all around! Sweet potato pancakes, mashed sweet potatoes, sweet potato breakfast hash, and my most recent development – sweet potato banana bread. For anyone who loves classic banana bread, this spin kicks it up a notch. You still get the magic of banana bread, with the beautiful color and sweet undertone of the sweet potato.
Also, using a root vegetable puree is a fab way to incorporate beautiful moisture and color into whatever you’re making. One day I’ll bake something using beets, since I’m a hundred percent sure it’s equally as fabulous. Most importantly, this is a super easy recipe that just works for those three leftover overripe bananas in the bunch. We all know no one’s going to eat them. Bake them!
What You'll Need:
One or two very ripe bananas
One medium to large sweet potato
Two eggs
½ cup vegetable or canola oil
¼ milk
1¾ cups of flour
1¼ cups sugar
Two teaspoons baking soda
A teaspoon of good vanilla extract
Two teaspoons of cinnamon
A teaspoon of nutmeg
½ teaspoon clove
½ teaspoon allspice
Just a pinch of salt
What To Do:
Preheat your oven to 350 degrees, and prepare your banana and sweet potato puree. Peel, cube, and dice your sweet potato and boil until softened and easily pierced with a fork, drain water. Mash the cooled sweet potato and banana together until only small clumps remain. Add wet ingredients and and mix well (milk, oil, eggs, and vanilla). Once well combined, mix in the sugar.
In a separate bowl, combine the rest of the dry ingredients (flour, baking soda, and spices). Add the dry ingredients into the wet mixture, stirring until just combined. Pour the mixture into a loaf pan that you’ve sprayed well with baking spray. Shake the pan it around a little to make sure everything’s all settled. I like to give it one good loud plop on my countertop, which always scares the dogs, but reassures me that it’s oven ready.
Place your loaf pan in the oven and allow it to bake for an hour. In reality you’re supposed to check the bread with a skewer or toothpick and make sure it comes out clean, but I have a really obnoxious habit of just sticking a butter knife right into the middle. Same effect. Just leaves a kind of annoying stab wound in the middle of your bread. If your skewer (or butter knife) comes out wet, just place back in the oven for five minute intervals until it comes out clean. That’s it. Enjoy!
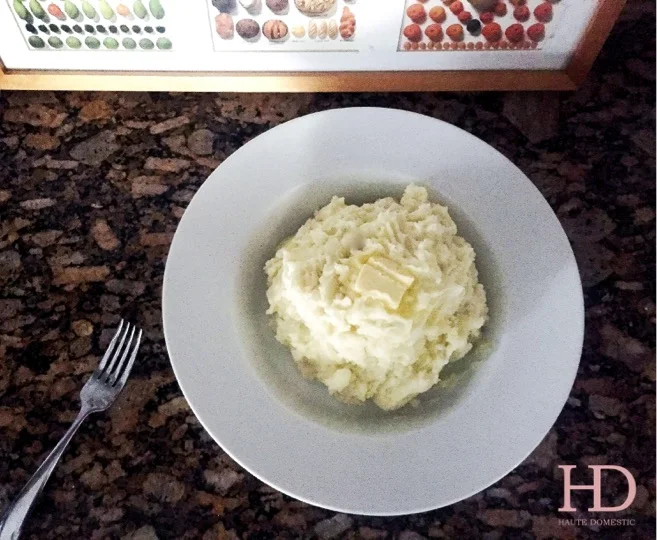
Dreamy Buttermilk Garlic Mashed Potatoes
In my nearly twenty-six years of life, I’ve learned a few important lessons. I’ve learned to pay my cable bill on time, because a night without Internet is like a night without oxygen. I’ve learned to kiss up to your boss, because even if they’re an asshole, they hold your immediate future in their hands. But most importantly, I’ve learned that mashed potatoes are the most important food in the world, and deserve our utmost respect and benevolence. What’s a holiday table without a platter of fluffy mashed potatoes? It’s blasphemy. In my opinion, they’re the perfect complement to any special dinner. Any meal really.
The key to perfectly fluffy mashed potatoes is not to cook them for too long so they aren’t water logged and heavy, and to use room temperature ingredients while cooking to ensure everything blends together easily. There’s never any excuse to use the instant masked potatoes in a box- that too, is blasphemy. These fluffy miracles are beyond easy to prepare, can be made well in advance, and store and reheat well as leftovers. Follow these steps to achieve mashed potato nirvana.
What You'll Need:
A bunch of clean, scrubbed potatoes. Red skin or yukon gold are ideal, but plain old russets work too. Ten or so small potatoes, or six or so large ones yields about four servings.
About a clove of minced garlic (or a tablespoon of the pre-minced stuff)
3-4 tablespoons of butter
3/4 cup buttermilk
1/2 cup heavy cream, milk, or half and half
Salt to taste
What To Do:
Give your potatoes a good scrub under running water. There's nothing worse than dirt in your mashed potatoes. Goodness no. But no need to dry them off, they're going right in a pot of water.
Dice the potatoes into quarters and place them in nice sized pot of water. Make sure there's at least two inches of water covering them, and bring the pot to a boil. I find that placing the potatoes in the water and bringing them a boil together makes for a better mash, as the potatoes gradually heat instead of being shocked by boiling hot water.
After about twenty minutes, once the potatoes have softened, and are easily pierced with a fork, drain the water. You're left with perfectly soft potatoes, ready to be mashed! Here's the fun part.
Dump the minced garlic and butter onto the steaming potatoes. Grab a potato masher and give them a rough mash. Add the buttermilk and heavy cream, and continue mashing to your desired consistency. I like a chunkier mash. Boyfriend likes smoother. We meet somewhere in the middle. Add salt to taste.
Top them with awesome things. Maybe just butter, maybe chopped chives, or maybe my personal favorite- gravy. We'll get to a gravy post later. Until then- happy eating!
The haute in domestic
This is a block field
You can put any content in here.
Etiam porta sem malesuada magna mollis euismod. Vestibulum id ligula porta felis